Examples cookbook: Authentication flow with JWT
Page summary:Authenticate REST API requests using JWT by sending credentials to the
/auth/localendpoint and storing the token inlocalStorage, with optional session management for refresh token support.
This page is part of the back end customization examples cookbook. Please ensure you've read its introduction.
💭 Context:
Out of the box, the front-end website of FoodAdvisor does not provide any log in functionality. Logging in is done by accessing Strapi's admin panel at `localhost:1337/admin`.
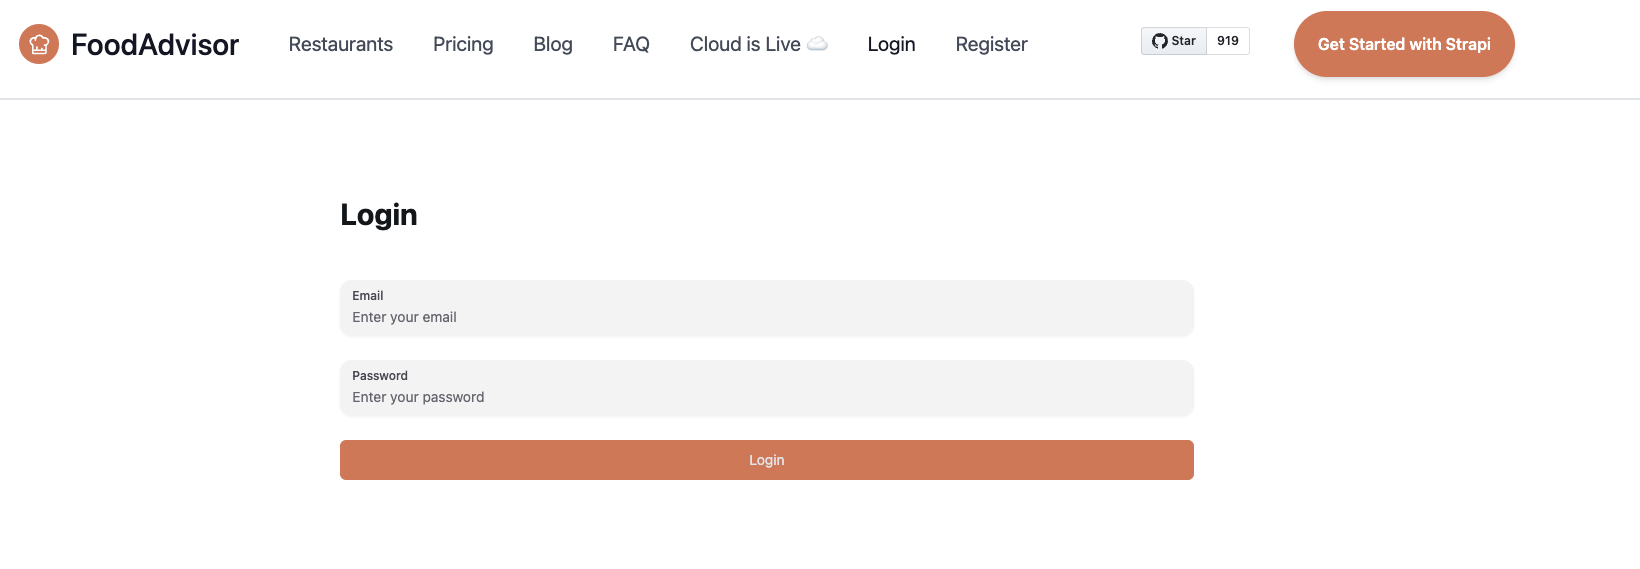
Let's add a basic login page to the front-end, Next.js-powered website included in the /client folder of FoodAdvisor. The login page will be accessible at `localhost:3000/auth/login` and contain a typical email/password login form. This will allow programmatically authenticating API requests sent to Strapi.
🎯 Goal:
Create a front-end component to:
- to display a login form,
- send a request to the
/auth/localroute of the Strapi back-end server to authenticate, - get a JSON Web Token (JWT),
- and store the JWT into the `localStorage` property of your browser for later retrieval and authentication of our requests.
Additional information about JWT authentication can be found in the Users & Permissions plugin documentation.
🧑💻 Code example:
To achieve this, in the /client folder of the FoodAdvisor project, you could create a pages/auth/login.js file that contains the following example code. Highlighted lines show the request sent to the /auth/local route provided by Strapi's Users & Permissions plugin:
This file uses the formik package - install it using yarn add formik and restart the dev server.
import React from 'react';
import { useFormik } from 'formik';
import { Button, Input } from '@nextui-org/react';
import Layout from '@/components/layout';
import { getStrapiURL } from '@/utils';

const Login = () => {
  const { handleSubmit, handleChange } = useFormik({
    initialValues: {
      identifier: '',
      password: '',
    },
    onSubmit: async (values) => {
      /**
       * API URLs in Strapi are by default prefixed with /api,
       * but because the API prefix can be configured
       * with the rest.prefix property in the config/api.js file,
       * we use the getStrapiURL() method to build the proper full auth URL.
       **/
      const res = await fetch(getStrapiURL('/auth/local'), {
        method: 'POST',
        headers: {
          'Content-Type': 'application/json',
        },
        body: JSON.stringify(values),
      });
      /**
       * Gets the JWT from the server response.
       * The actual response is { jwt, user }, but we only need the JWT here.
       */
      const { jwt } = await res.json();
      /**
       * Stores the JWT in the localStorage of the browser.
       * A better implementation would be to do this with an authentication context provider
       * or something more sophisticated, but it's not the purpose of this tutorial.
       */
      localStorage.setItem('token', jwt);
    },
  });
  /**
   * The following code renders a basic login form
   * accessible from the localhost:3000/auth/login page.
   */
  return (
    <Layout>
      <div className="h-full w-full flex justify-center items-center my-24">
        <form onSubmit={handleSubmit} className="flex flex-col gap-y-6 w-4/12 ">
          <h1 className="font-bold text-3xl mb-6">Login</h1>
          <Input
            onChange={handleChange}
            type="email"
            name="identifier"
            label="Email"
            placeholder="Enter your email"
          />
          <Input
            type="password"
            name="password"
            label="Password"
            placeholder="Enter your password"
            onChange={handleChange}
          />
          <Button type="submit" className="bg-primary rounded-md text-muted">
            Login
          </Button>
        </form>
      </div>
    </Layout>
  );
};

export default Login;
Enhanced authentication with session management
The above example uses the traditional JWT approach. For enhanced security, you can enable session management mode in your Users & Permissions configuration, which provides shorter-lived access tokens and refresh token functionality.
Configuration
First, enable session management in your /config/plugins.js:
module.exports = ({ env }) => ({
  'users-permissions': {
    config: {
      jwtManagement: 'refresh',
      sessions: {
        accessTokenLifespan: 600, // 10 minutes (default)
        maxRefreshTokenLifespan: 2592000, // 30 days (default)
        idleRefreshTokenLifespan: 1209600, // 14 days (default)
        maxSessionLifespan: 86400, // 1 day (default)
        idleSessionLifespan: 7200, // 2 hours (default)
      },
    },
  },
});
Enhanced login component
Here's an updated login component that handles both JWT and refresh tokens:
import React, { useState } from 'react';
import { useFormik } from 'formik';
import { Button, Input } from '@nextui-org/react';
import Layout from '@/components/layout';
import { getStrapiURL } from '@/utils';

const EnhancedLogin = () => {
  const [isLoading, setIsLoading] = useState(false);

  const { handleSubmit, handleChange } = useFormik({
    initialValues: {
      identifier: '',
      password: '',
    },
    onSubmit: async (values) => {
      setIsLoading(true);
      try {
        const res = await fetch(getStrapiURL('/auth/local'), {
          method: 'POST',
          headers: {
            'Content-Type': 'application/json',
          },
          body: JSON.stringify(values),
        });

        const data = await res.json();

        if (res.ok) {
          // Store both tokens (session management mode)
          if (data.refreshToken) {
            localStorage.setItem('accessToken', data.jwt);
            localStorage.setItem('refreshToken', data.refreshToken);
          } else {
            // Legacy mode - single JWT
            localStorage.setItem('token', data.jwt);
          }

          // Redirect to protected area
          window.location.href = '/dashboard';
        } else {
          console.error('Login failed:', data.error);
        }
      } catch (error) {
        console.error('Login error:', error);
      } finally {
        setIsLoading(false);
      }
    },
  });

  return (
    <Layout>
      <div className="h-full w-full flex justify-center items-center my-24">
        <form onSubmit={handleSubmit} className="flex flex-col gap-y-6 w-4/12">
          <h1 className="font-bold text-3xl mb-6">Enhanced Login</h1>
          <Input
            onChange={handleChange}
            type="email"
            name="identifier"
            label="Email"
            placeholder="Enter your email"
          />
          <Input
            type="password"
            name="password"
            label="Password"
            placeholder="Enter your password"
            onChange={handleChange}
          />
          <Button
            type="submit"
            className="bg-primary rounded-md text-muted"
            disabled={isLoading}
          >
            {isLoading ? 'Logging in...' : 'Login'}
          </Button>
        </form>
      </div>
    </Layout>
  );
};

export default EnhancedLogin;
Learn more about how custom services and controllers can help you tweak a Strapi-based application.