Administration panel
Page summary:
The admin panel acts as Strapi’s back office for managing content types, entries, and both administrator and end‑user accounts. This documentation gives an overview of the admin panel before focusing on profile settings that manage interface language and mode, login and personal information, and logo for branding.
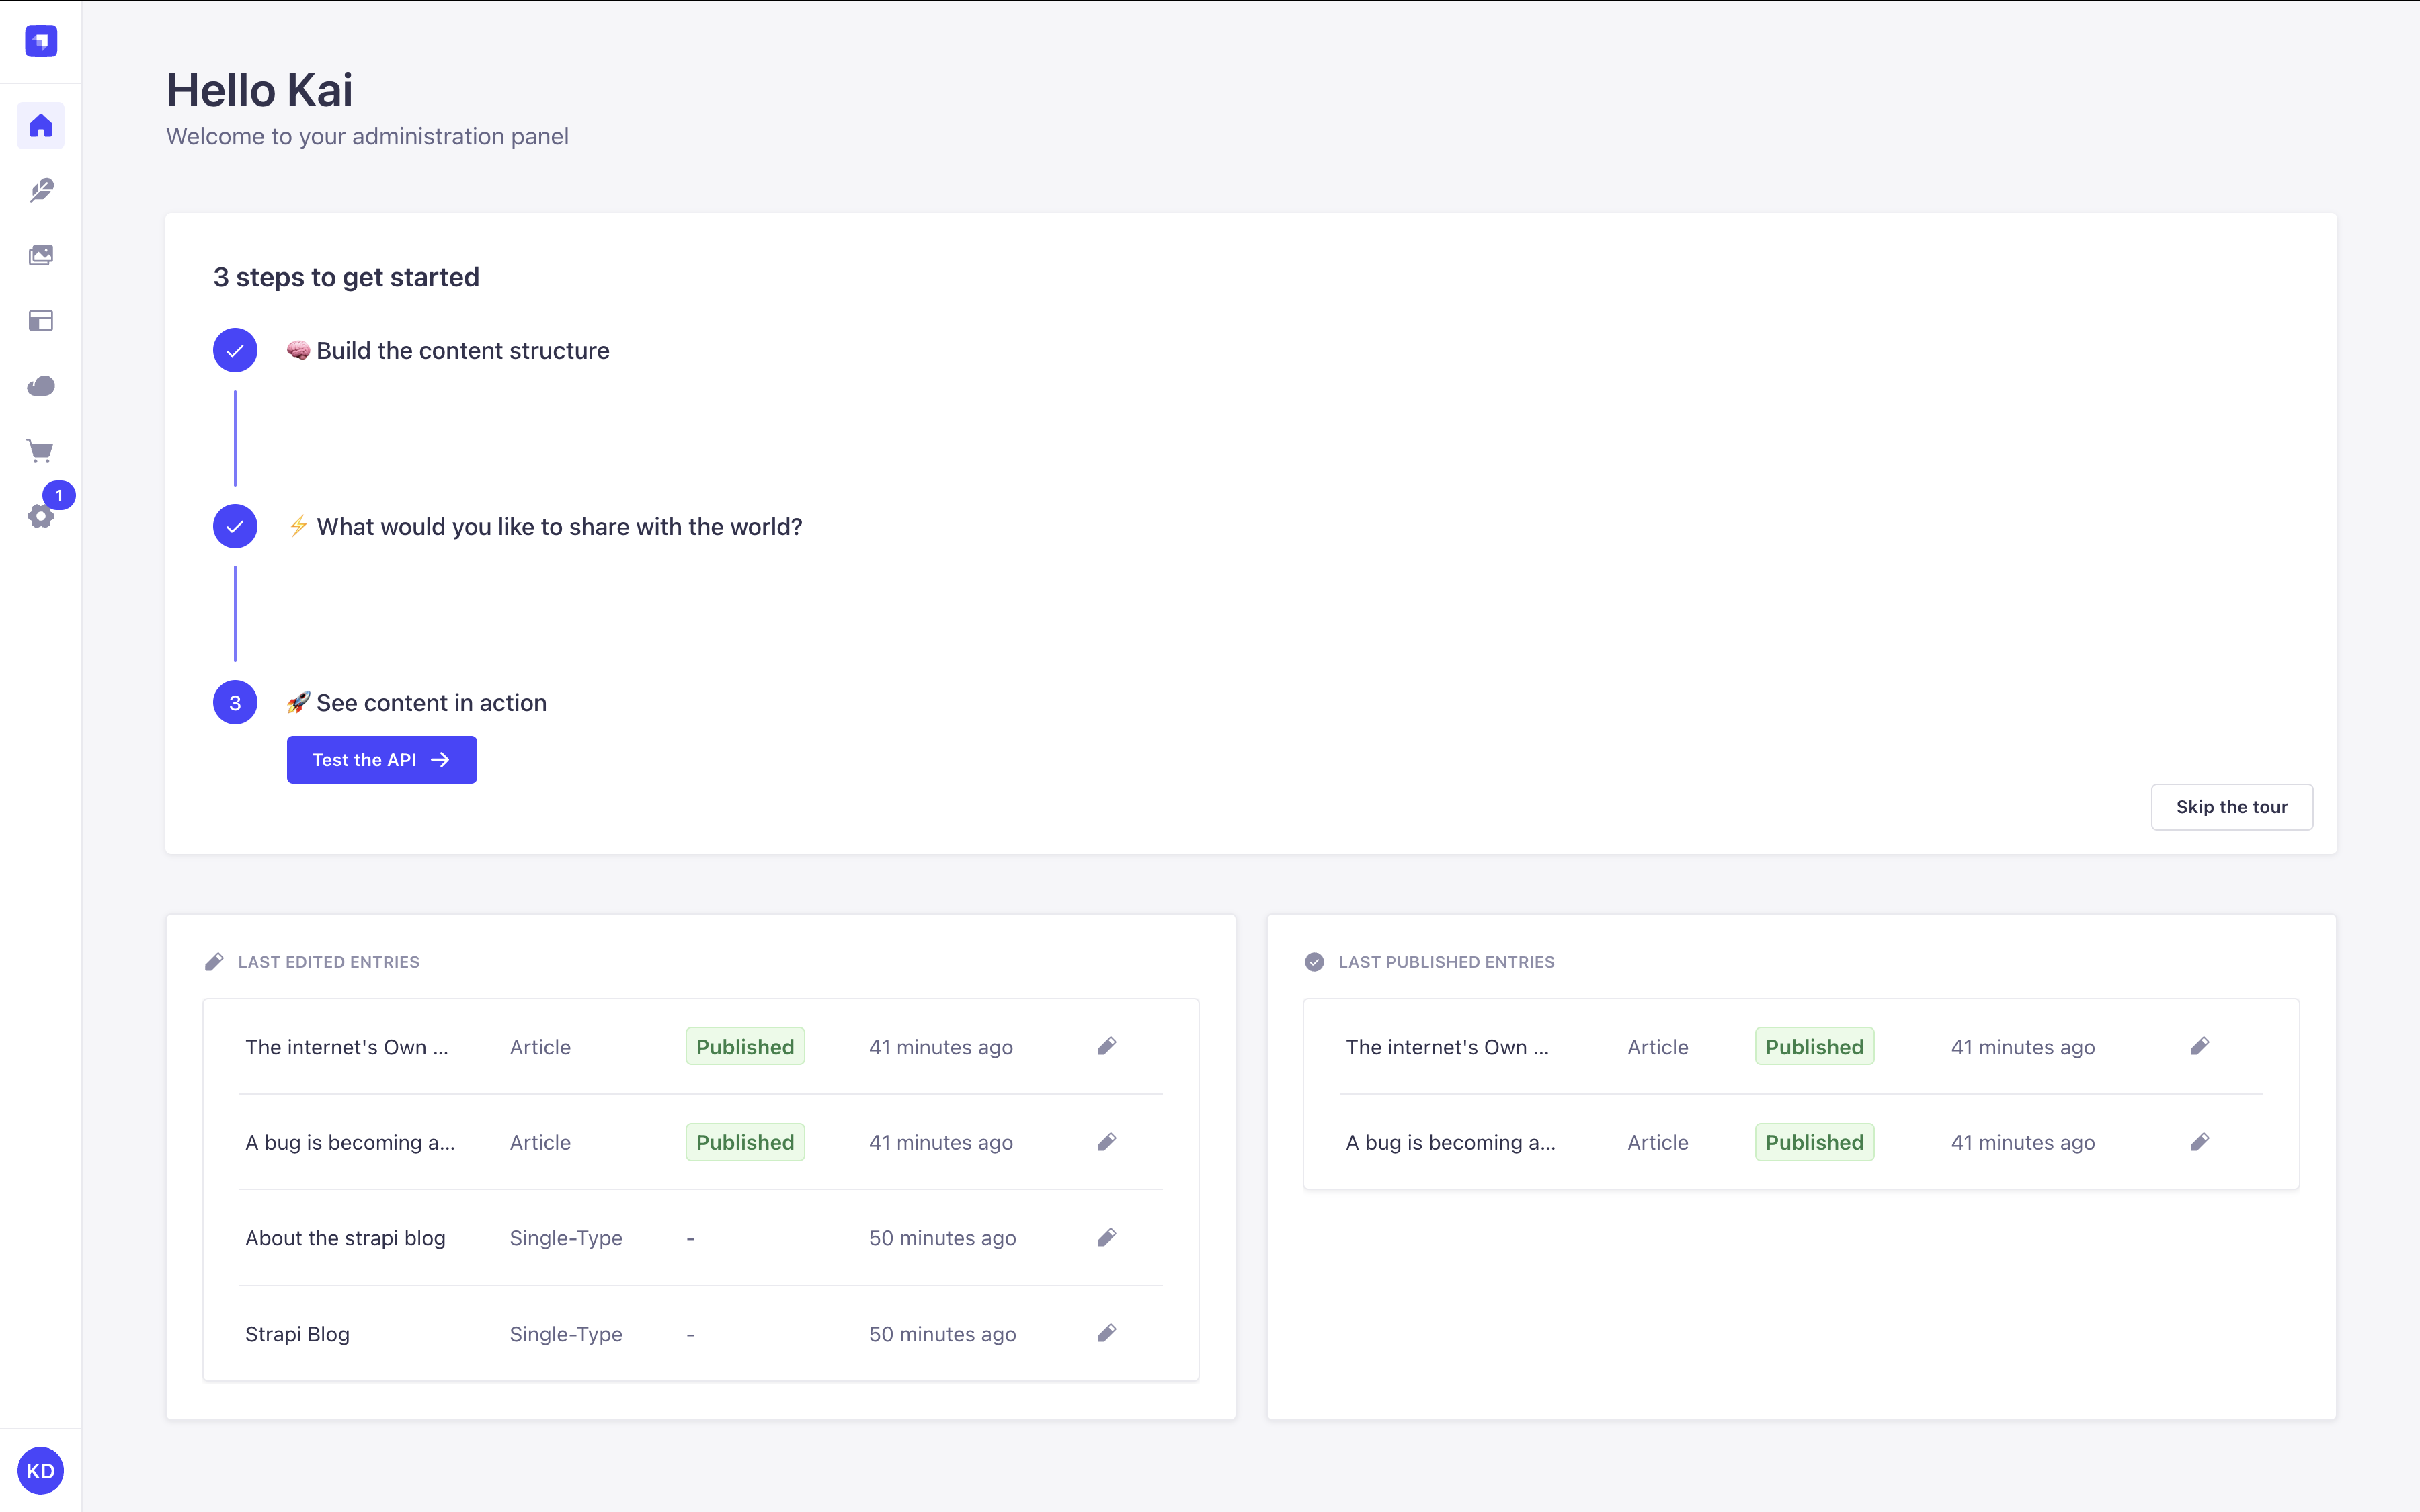
The admin panel is the back office of your Strapi application. From the admin panel, you will be able to manage content-types and write their actual content, but also manage users, both administrators and end users of your Strapi application.
You can create your own widgets to customize the admin panel's homepage.
You can also customize the layout (widget controls appear when you hover over a widget or between widgets):
- Resize: Drag the divider in a two-widget row left or right.
- Reorder: Drag the button to move a widget.
- Delete: Click the button.
- Restore: Use the "Add widget" button at the top of the page to bring back a deleted widget.
Overview
There are a few factors that you should keep in mind when using the admin panel, as they could modify the interface and your experience with it.
-
Development, Staging or Production Environment
Your content structure and application configuration change status: from development environment to production or staging environment once deployed. Some features are only available in development. Check the Identity Cards to know when features are usable. -
License and Pricing Plans
Some features's availability or limits depend on whether your application is using the free Community Edition, the Growth plan, or the Enterprise plan. Look for the GrowthThis feature is available with a Growth plan. and EnterpriseThis feature is available with an Enterprise plan. badges in the docs. -
Roles and Permissions
Some features and the content itself are ruled by a system of permissions that can be defined at a detailed level. Depending on your role and permissions, you may not be able to access all the features and options. Read the RBAC feature documentation for more information. -
Future flags
Some incoming Strapi features are not yet ready to be shipped to all users, but Strapi still offers community users the opportunity to provide early feedback. These experimental features require enabling the corresponding future flags. Look for the Feature FlagThis feature requires a feature flag to be enabled. badge in the docs and read the Feature flags documentation for more information.
Configuration
Path to configure the admin panel: Account name or initials (bottom left hand corner) > Profile
If you are a new administrator, we recommend making sure your profile is all set, before diving into your Strapi application. From your administrator profile, you are able to modify your user information (name, username, email, password). You can also choose the language and mode of the interface for your Strapi application.

There are many more configuration and customization options available. See the following pages for more details:
Code-based configuration
Configure the appearance, security, and features of the Strapi admin panel via the /config/admin file.
Customization
Match your branding, replace the WYSIWYG editor, configure the bundler, extend features, and more.
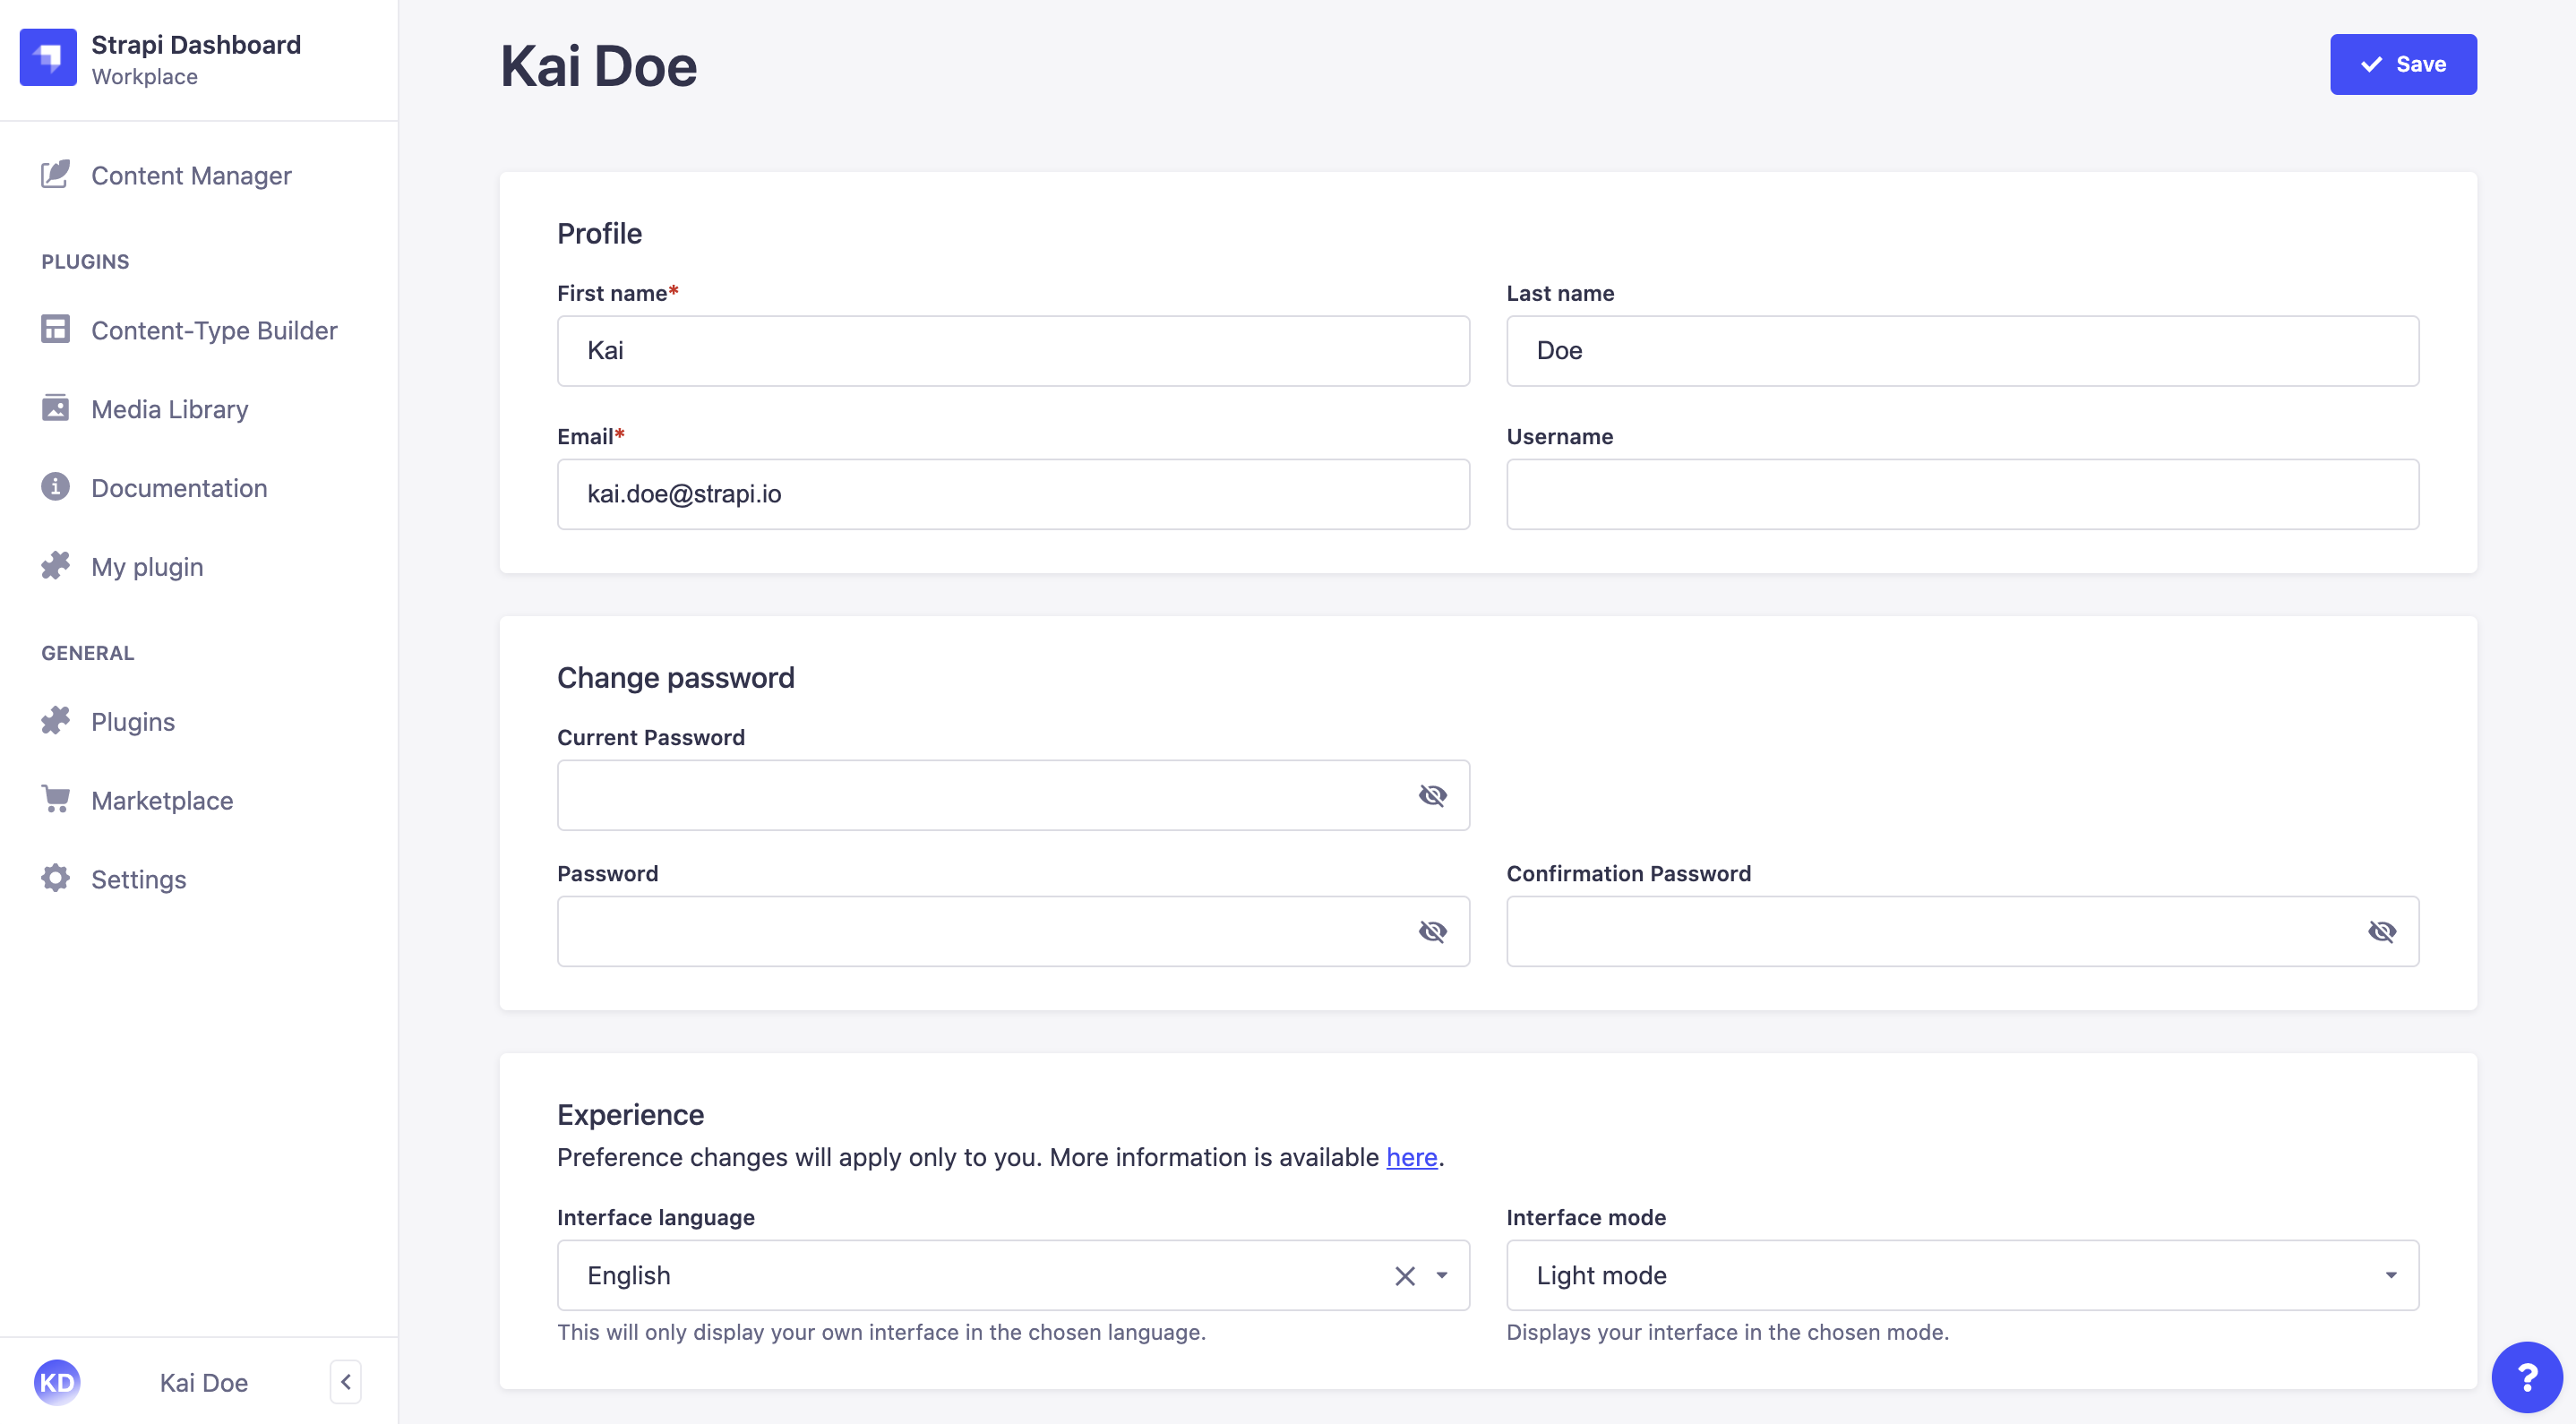
Modifying profile information (name, email, username)
- Go to the Profile section of your profile.
- Fill in the following options:
| Profile & Experience | Instructions |
|---|---|
| First name | Write your first name in the textbox. |
| Last name | Write your last name in the textbox. |
| Write your complete email address in the textbox. | |
| Username | (optional) Write a username in the textbox. |
- Click on the Save button.
Changing account password
- Go to the Change password section of your profile.
- Fill in the following options:
| Password modification | Instructions |
|---|---|
| Current password | Write your current password in the textbox. |
| Password | Write the new password in the textbox. |
| Password confirmation | Write the same new password in the textbox. |
- Click on the Save button.
You can click on the icon for the passwords to be shown.
Choosing interface language
In the Experience section of your profile, select your preferred language using the Interface language dropdown.
Keep in mind that choosing an interface language only applies to your account on the admin panel. Other users of the same application's admin panel can use a different language.
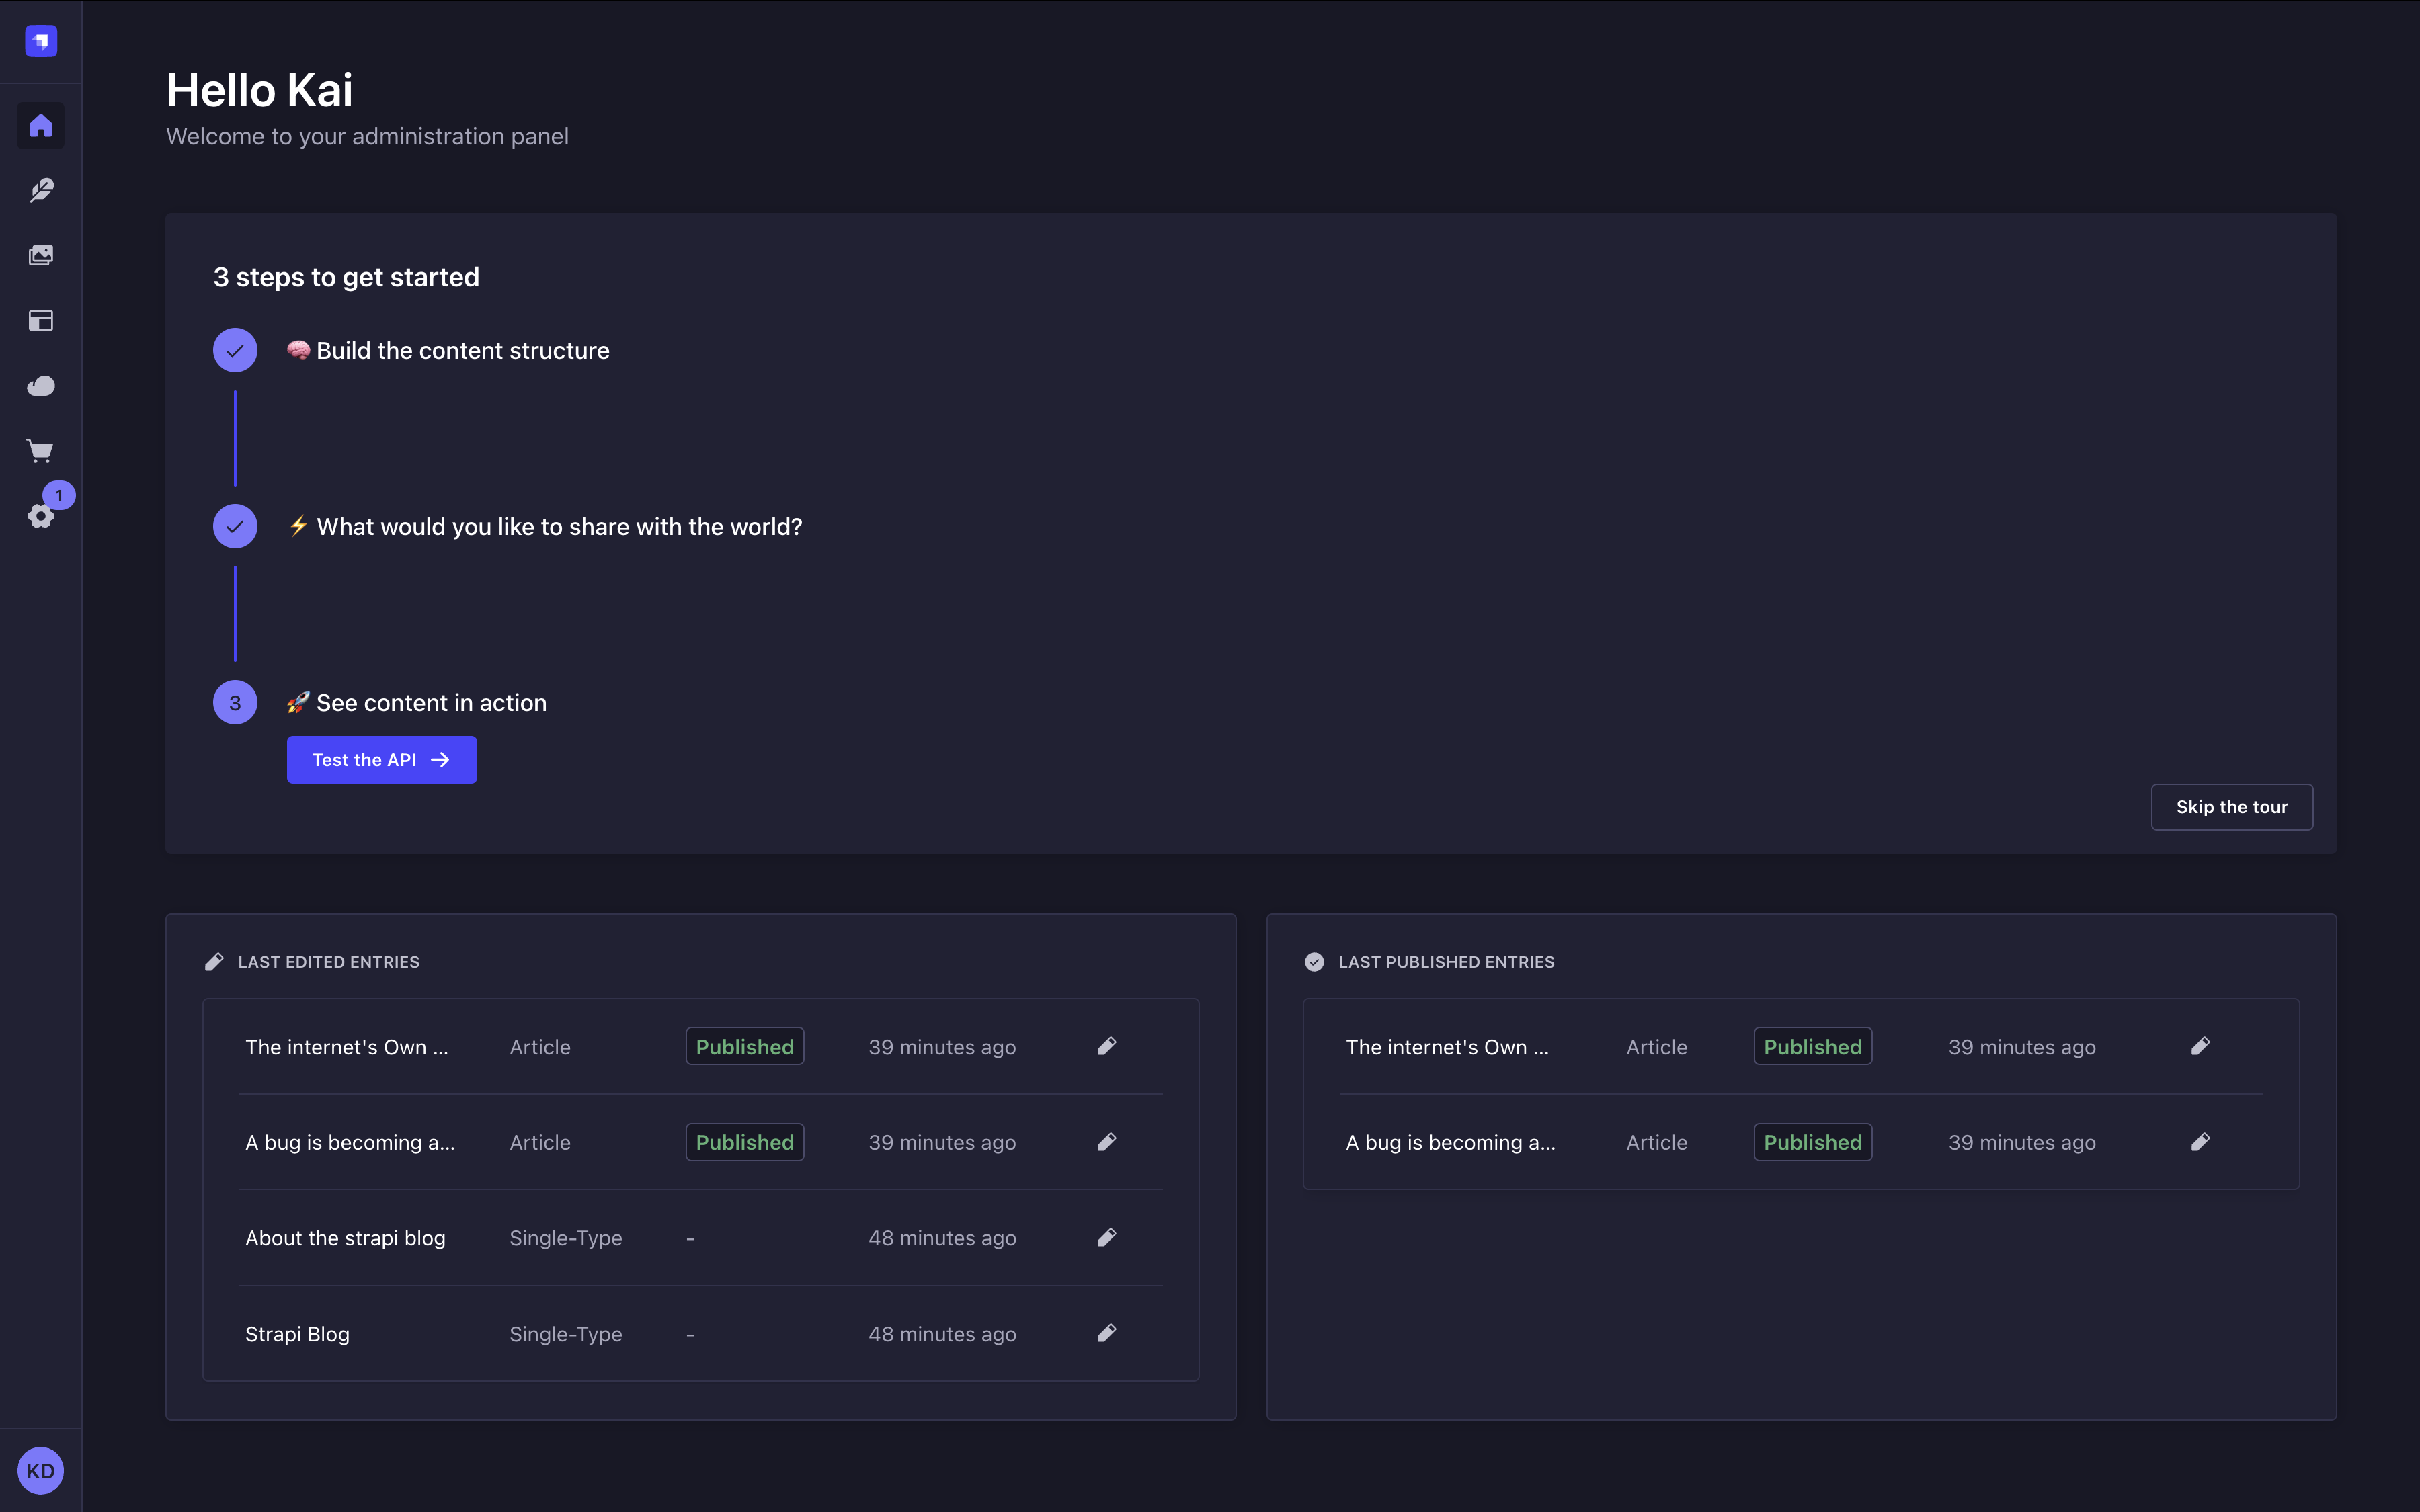
Choosing interface mode (light, dark)
By default, the chosen interface mode is based on your browser's mode. You can however, in the Experience section of your profile, manually choose either the Light Mode or Dark Mode using the Interface mode dropdown.
Keep in mind that choosing an interface mode only applies to your account on the admin panel.
Resetting guided tour
In the Guided tour section of your profile, you can click the Reset guided tour button to reset the guided tour which is available in the homepage of the admin panel. It allows you to see again the guided tour of the admin panel if you closed it beforehand, and to follow again its various steps.
Customizing the logo
Path to configure the admin panel: Settings > Global settings > Overview
The default Strapi logos, displayed in the main navigation of a Strapi application and the authentication pages, can be modified.
- Click on the upload area for Menu logo or Auth logo.
- Upload your chosen logo, either by browsing files, drag & dropping the file in the right area, or by using a URL. The logo shouldn't be more than 750x750px.
- Click on the Upload logo button in the upload window.
- Click on the Save button in the top right corner.
Once uploaded, the new logo can be replaced with another one , or reset with the default Strapi logo or the logo set in the configuration files.
Both logos can also be customized programmatically via the Strapi application's configuration files (see Admin panel customization). However, the logos uploaded via the admin panel supersedes any logo set through the configuration files.
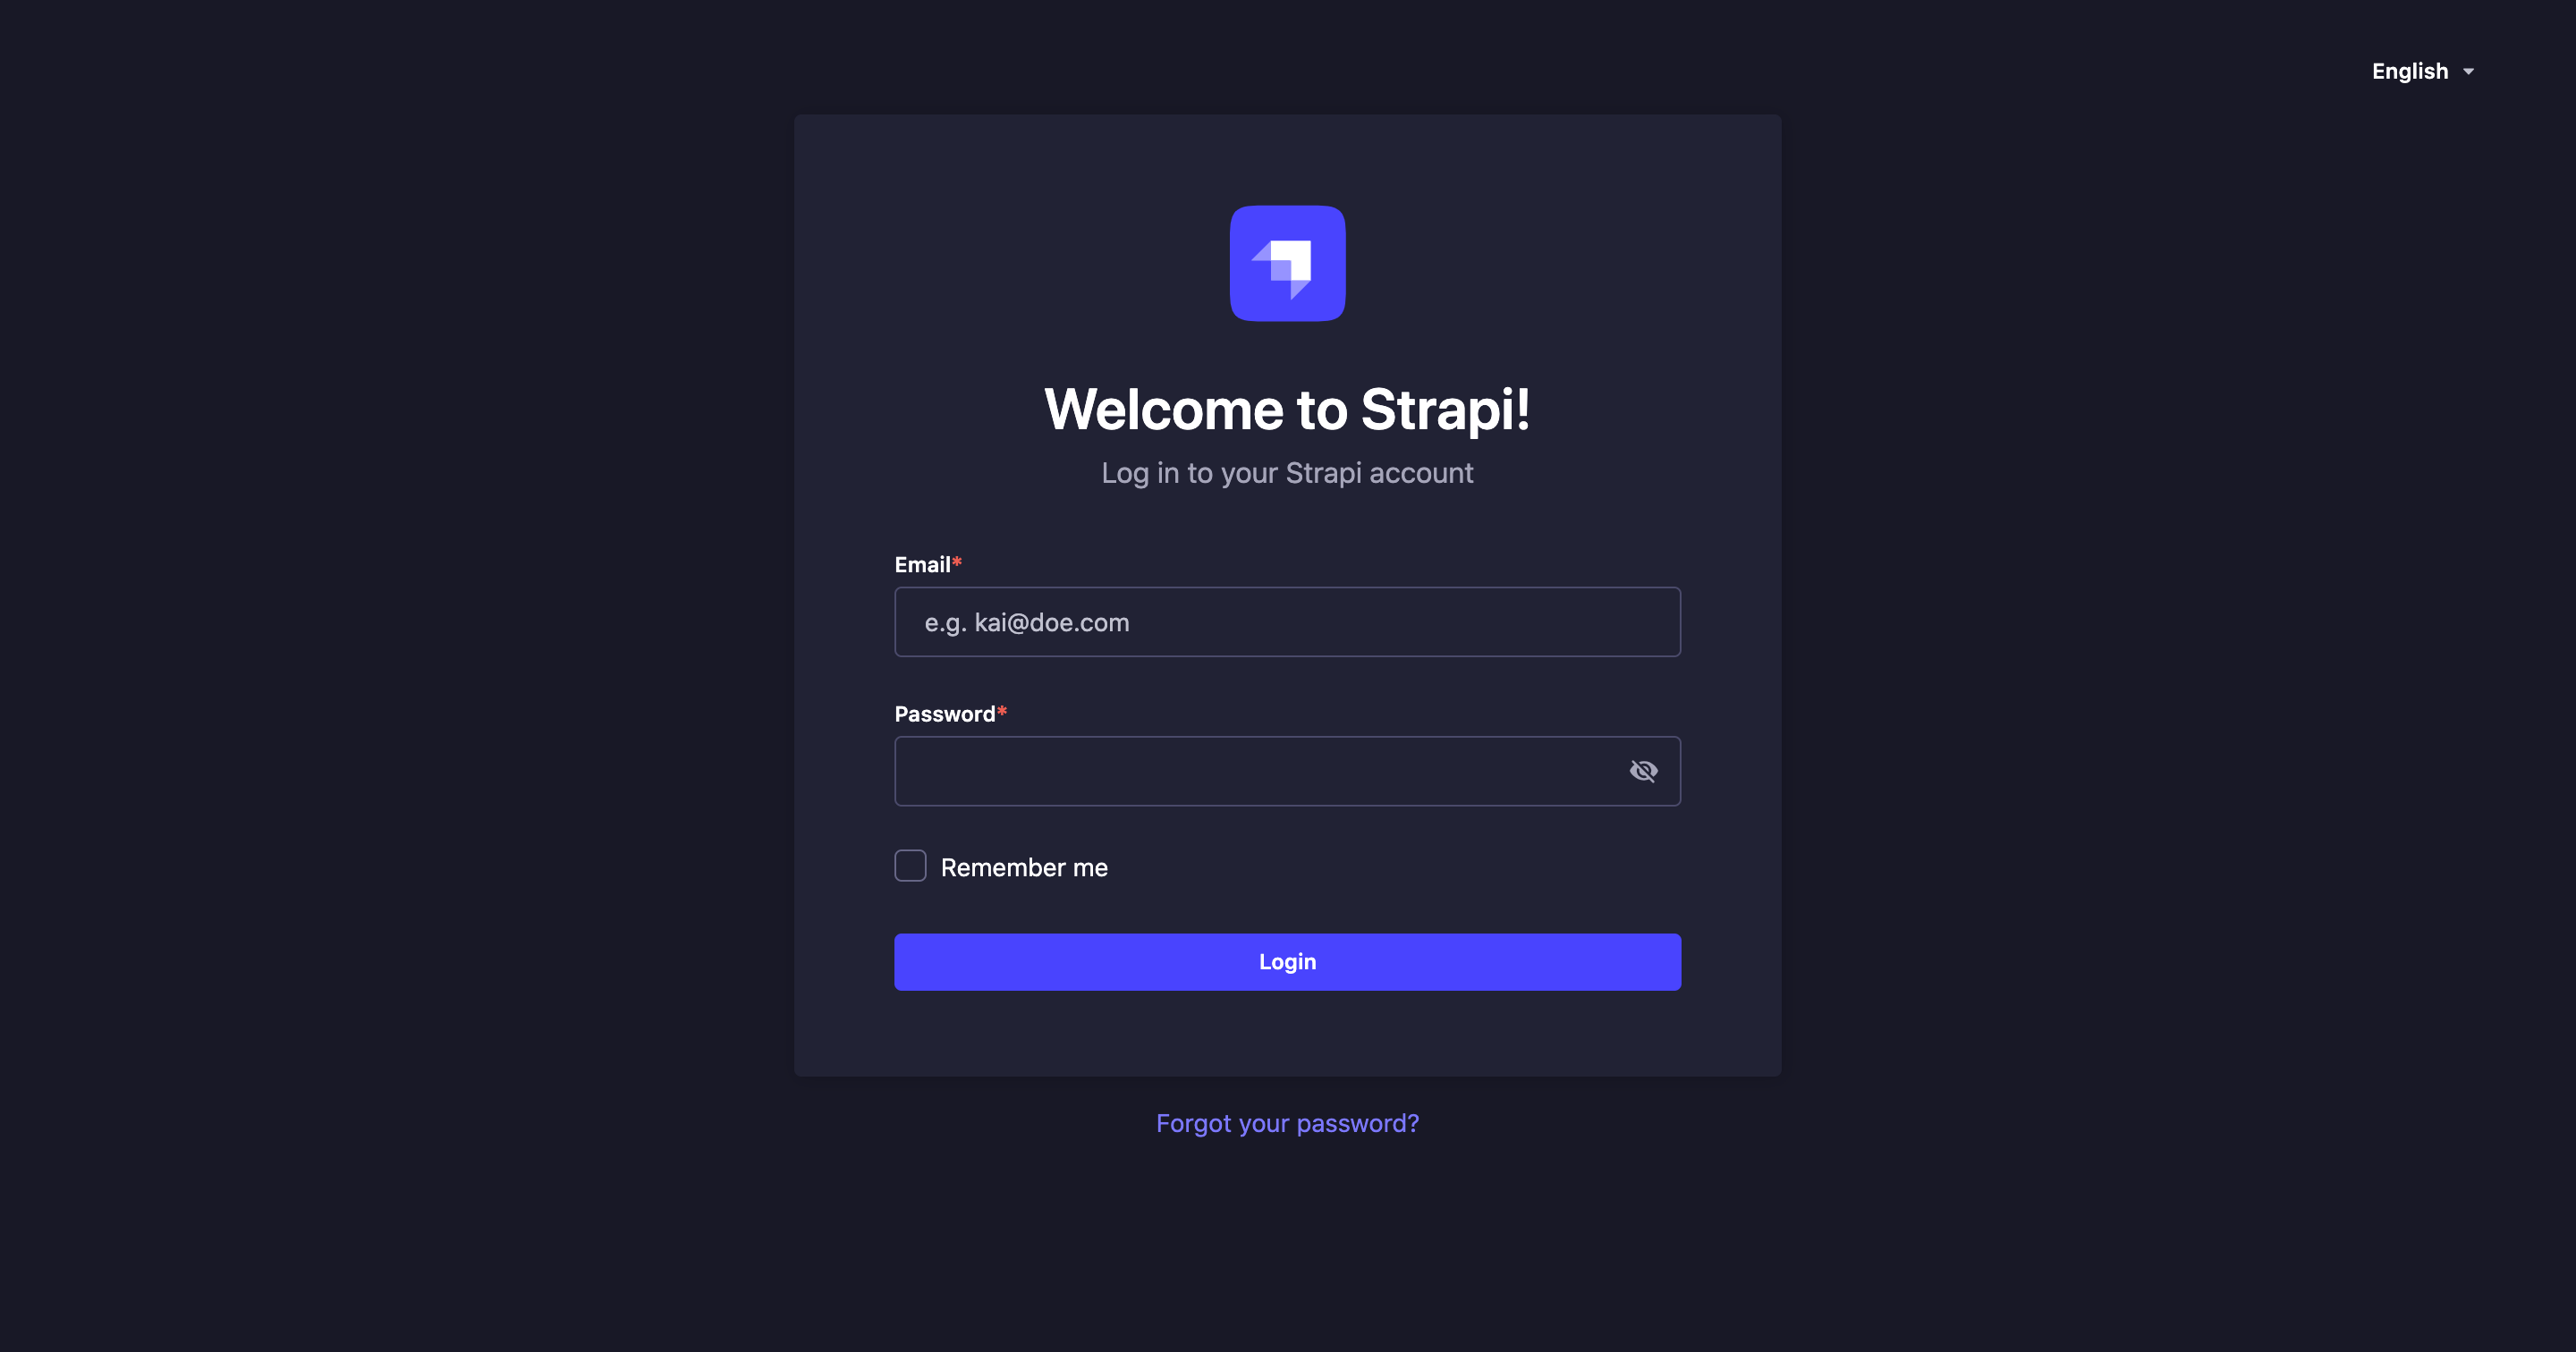
Usage
In order to access the admin panel, your Strapi application must be launched, and you must be aware of the URL to its admin panel (e.g. api.example.com/admin).
To access the admin panel:
- Go to the URL of your Strapi application's admin panel.
- Enter your credentials to log in.
- Click on the Login button. You should be redirected to the homepage of the admin panel.
If you prefer or are required to log in via an SSO provider, please refer to the Single Sign-On documentation.