Logos
Page summary:
Update login and navigation logos by extending the admin app. Prefer SVG for crisp rendering; provide light/dark variants when possible for contrast.
Strapi's admin panel displays its branding on both the login screen and in the main navigation. Replacing these images allows you to match the interface to your identity. The present page shows how to override the two logo files via the admin panel configuration. If you prefer uploading them directly in the UI, see Customizing the logo.
The Strapi admin panel displays a logo in 2 different locations, represented by 2 different keys in the admin panel configuration:
| Location in the UI | Configuration key to update |
|---|---|
| On the login page | config.auth.logo |
| In the main navigation | config.menu.logo |
Logos uploaded via the admin panel supersede any logo set through the configuration files.
Logos location in the admin panel
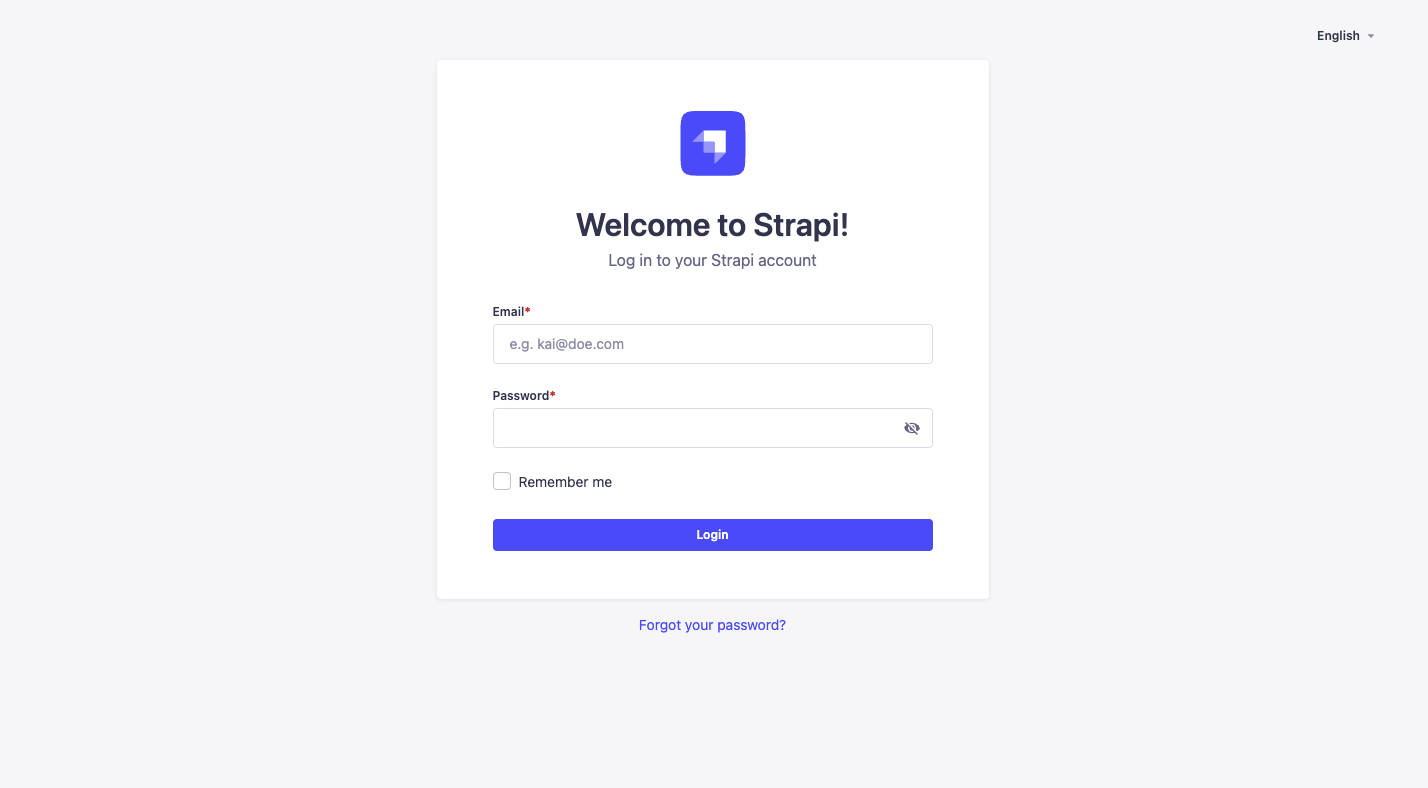
The logo handled by config.auth.logo logo is only shown on the login screen:

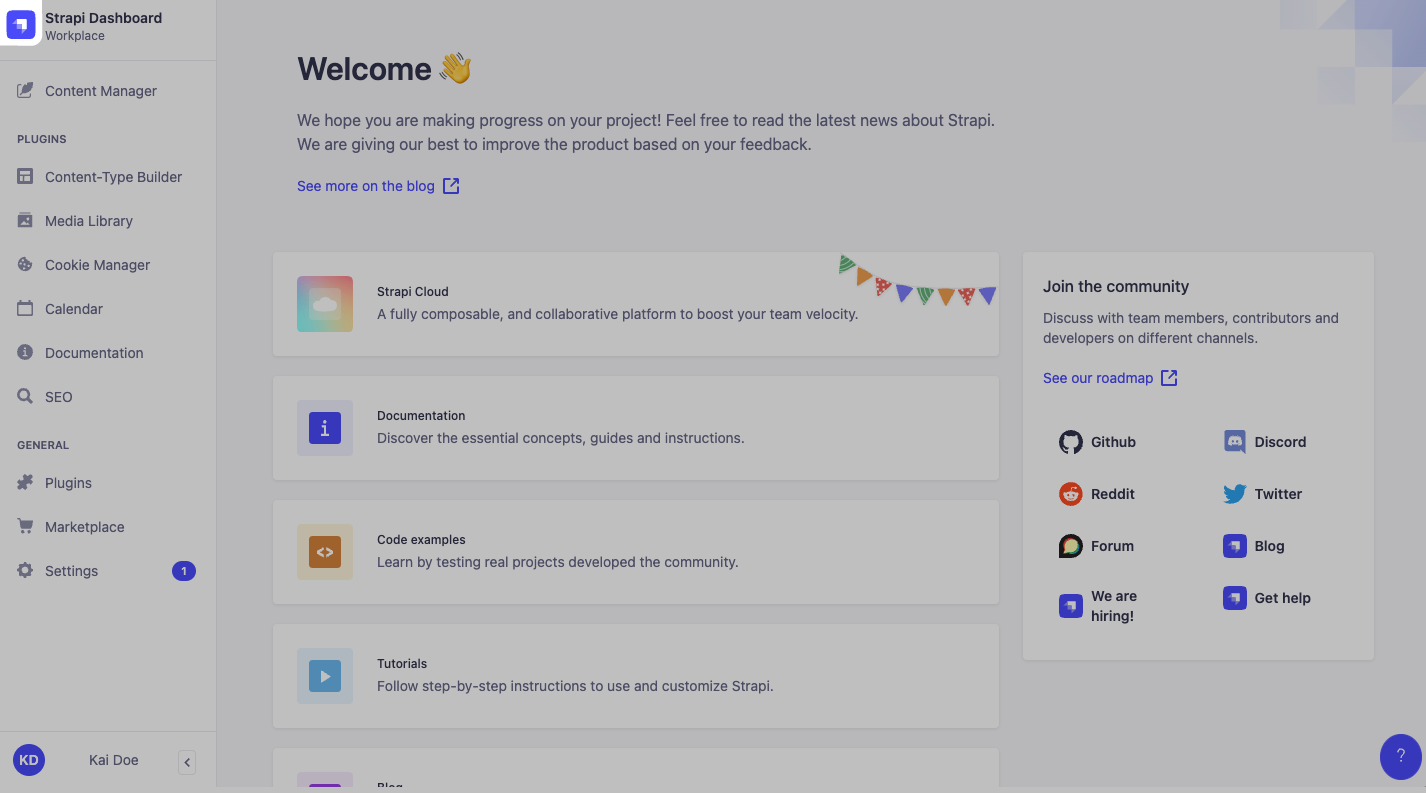
The logo handled by config.menu.logo logo is located in the main navigation at the top left corner of the admin panel:

Updating logos
To update the logos, put image files in the /src/admin/extensions folder, import these files in src/admin/app and update the corresponding keys as in the following example:
- JavaScript
- TypeScript
import AuthLogo from "./extensions/my-auth-logo.png";
import MenuLogo from "./extensions/my-menu-logo.png";

export default {
  config: {
    // … other configuration properties
    auth: { // Replace the Strapi logo in auth (login) views
      logo: AuthLogo,
    },
    menu: { // Replace the Strapi logo in the main navigation
      logo: MenuLogo,
    },
    // … other configuration properties

  bootstrap() {},
};
There is no size limit for image files set through the configuration files.